
Since many years, Ubuntu has become one of the most favorites for the users who want a long-term and large-scale deployment platform. And recently, Ubuntu launched its latest flavor named as Ubuntu 18.04 LTS. Here, you will get the complete guide to installing Ubuntu 18.04 Bionic Beaver on your system using a USB drive.
What is Ubuntu 18.04 LTS?
On April 26, 2018, the latest version of the Ubuntu called Ubuntu 18.04 LTS (Bionic Beaver) Operating System launched. Until 2023, the central archive of this system will be supported for the Ubuntu Core, Ubuntu Server, and Ubuntu Desktop. Apart from the other flavors that will be supported for the next 36 months, you will get support for 9 months of Ubuntu Studio 18.04.
Can I Run Ubuntu 18.04 from a USB Drive?
Yes, you can directly run Ubuntu 18.04 LTS from a USB drive. However, you may only use a trial version of it and may not have access to the full application. The primary purpose of letting users run Ubuntu 18.04 directly from a USB drive is to help them getting aware of the environment of the platform.
How to Install Ubuntu 18.04 Bionic Beaver from USB
Before I start the tutorial for installing Ubuntu 18.04 on your system using a USB drive, check the below system requirements that are minimum:
- A dual-core processor with 2 GHz frequency
- 2GB RAM
- Hard disk space of 25GB
- Connectivity port for USB or a DVD drive
- Internet connection (optional)
If your system fulfills all the above requirements, then let’s start with the installation process of Ubuntu 18.04 Bionic Beaver from USB.
Step-1: Download the ISO File
The first step is to download the official Ubuntu 18.04 LTS ISO file on your PC. Visit the Ubuntu website and get the latest packages.
Step-2: Make the Bootable USB
Depending on the OS you are using, you can take help of the third party software (Windows users) like rufus or can change the file path (Ubuntu users) to create a bootable USB disk.
Step-3: Boot from a USB Drive
- If your system is on, then reboot it or power it on.
- Go to the boot menu which can have various shortcut keys in different systems (for example, F10, F2, F12 or DEL).
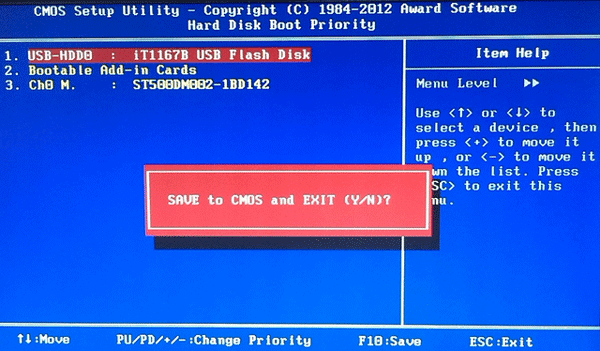
- Select the USB drive to boot from USB.
Step-4: Prepare for the Installation of Ubuntu 18.04
Wait until the Ubuntu image finished booting. After it is done, you will see a screen showing two options of ‘Try Ubuntu’ and ‘Install Ubuntu.’ If you select the first option, then there will be no changes in your system, and you will be enabled to use the Ubuntu environment. If you wish to start the installation directly, then choose the install Ubuntu option.
Step-5: Install Ubuntu 18.04 LTS (Bionic Beaver)
After you select the ‘Install Ubuntu’ button, you will go through an easy-to-follow sequence of setting up your system to use the Ubuntu.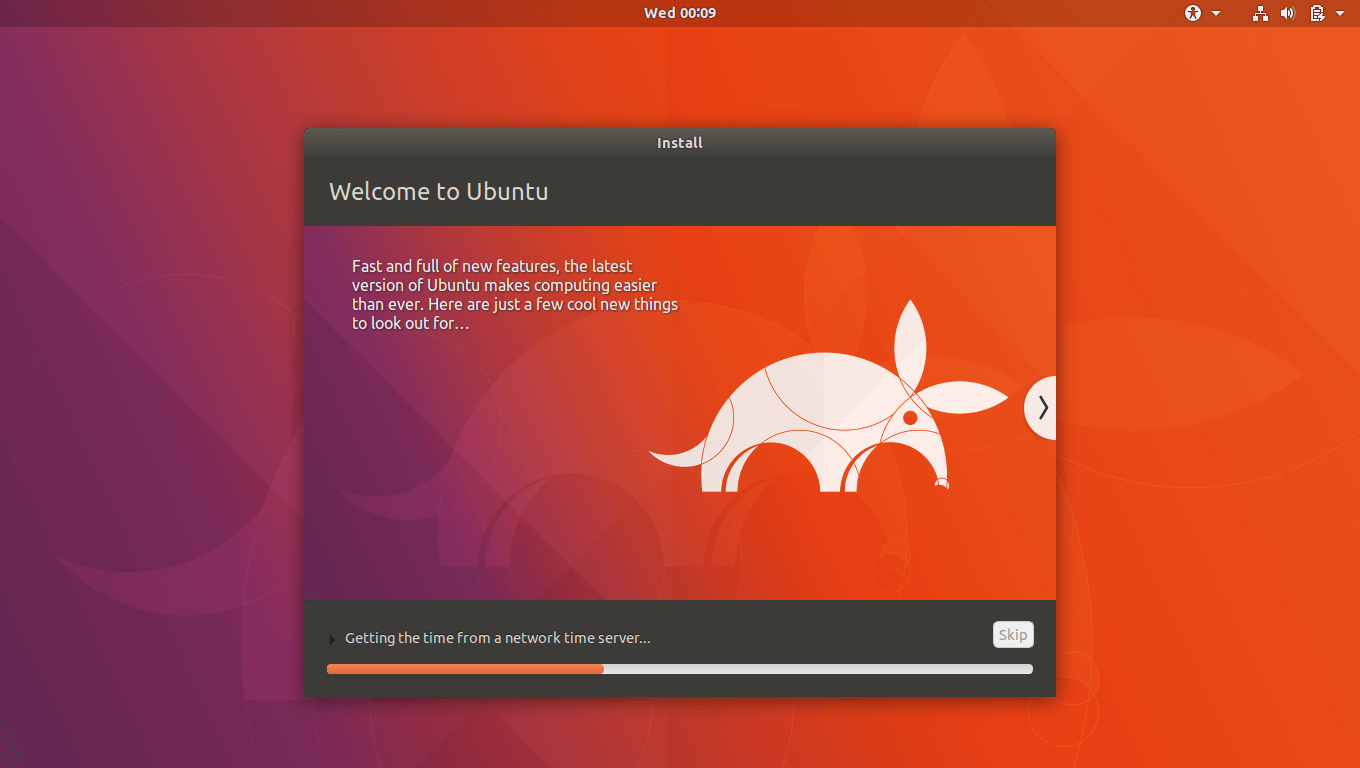
- First, you will be asked to set the language. Choose your style and then click ‘Continue.’
- Now, you will need to choose the keyboard layout according to the region or your preferences. Again click on ‘Continue’ button after selecting the key layout.
- If you do not wish to download third-party apps for now and don’t want to connect the internet, then choose the option of ‘I don’t want to connect to a Wi-Fi network right now.’ Selecting this option will help you to finish the installation quickly. However, you can do the apps download after the Ubuntu is installed on the system.
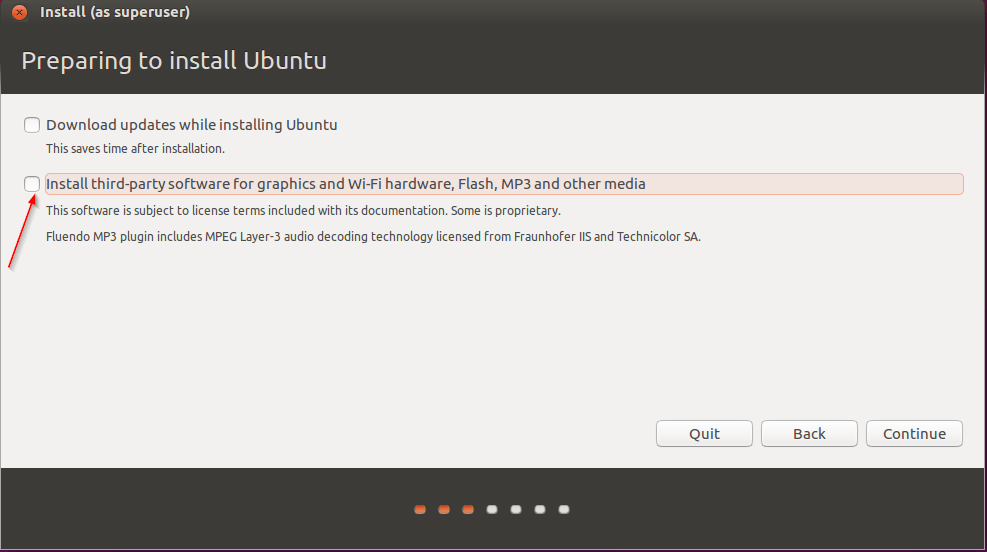
- Now, select the type of installation you want from the normal and minimal installation options. You can choose ‘Download Updates While Installing Ubuntu’ option which will save the time after the installation process is finished.
- Click on ‘Continue’ button.
Step-6: Select the Proper Type of Installation
In the next screen, you will see some options for choosing the setup. Depending on your requirements, level, and usage; select the appropriate option. Remember to read the details below the choice before you go ahead.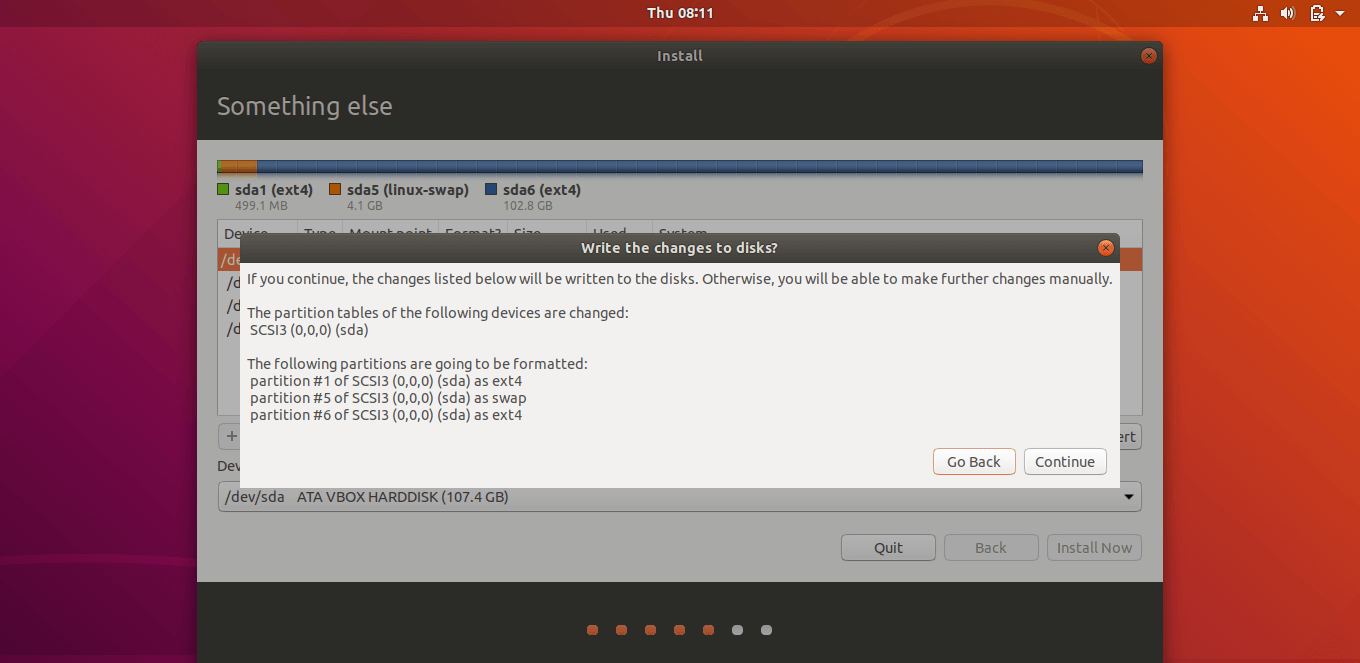
- Here, we will choose ‘Something Else’ option for creating a manual partition.
- Click on the ‘New Partition Table’ option for creating your own partition.
- After you create main & swap partitions, choose Bootloader location and select ‘Install Now’ button to start the process.
Step-7: Choose Time Zone
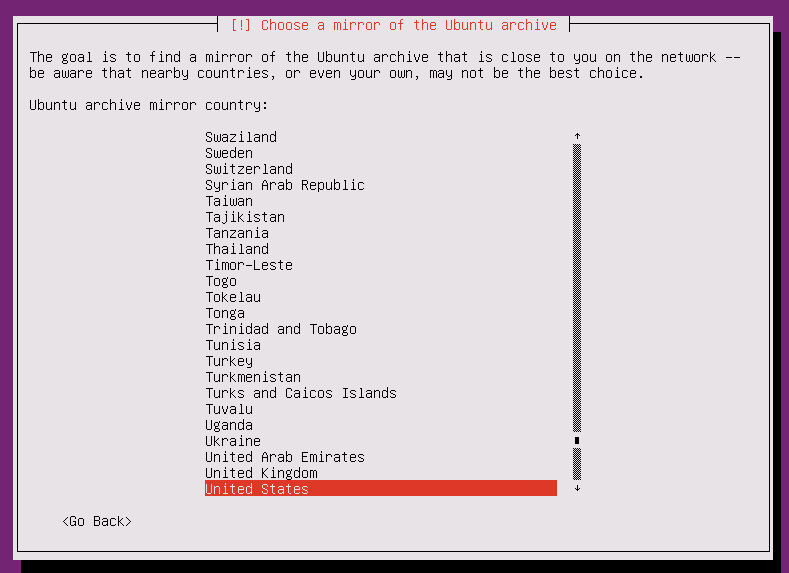 From the options of the time zones of the world, select the appropriate ‘Time zone’ according to your geographical location and click ‘Continue.’
Step-8: Create Username and Password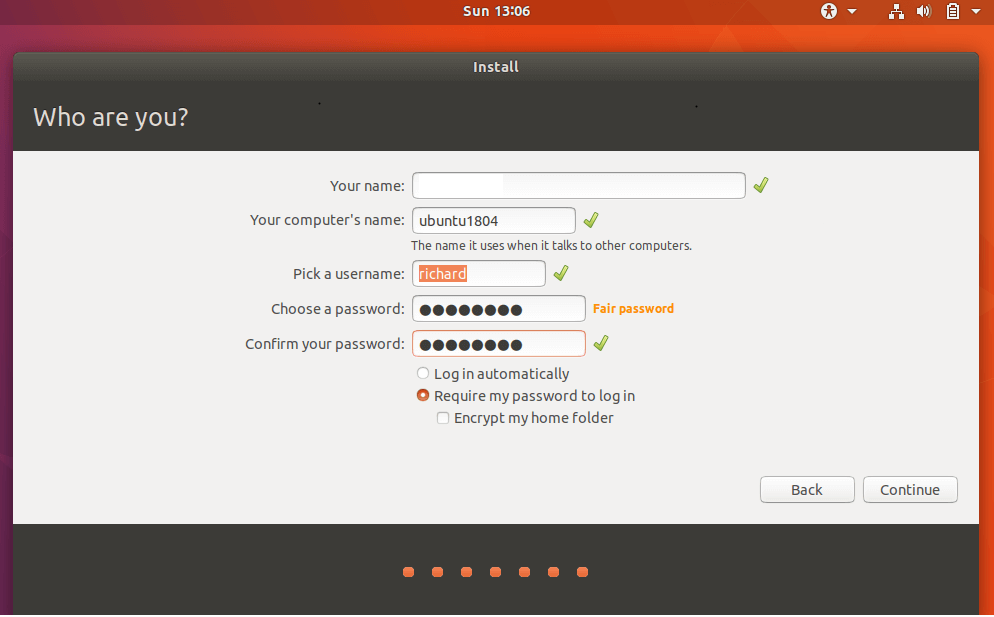
Now, you will need to enter your name, PC name, a suitable username and also the password for login into Ubuntu 18.04 Bionic Beaver. After you create a username and strong password, click on ‘continue’ button.
Step-9: Restart Your System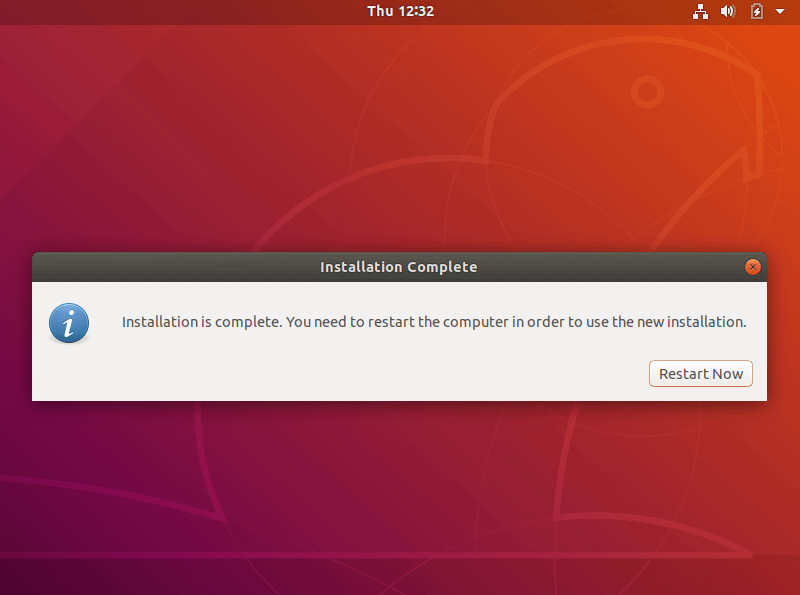
Wait for the Ubuntu 18.04 LTS installation process to be finished and then restart your PC. The installation can continue for some minutes depending on the system specifications and connectivity.
Step-10: Login Into Ubuntu 18.04 LTS Desktop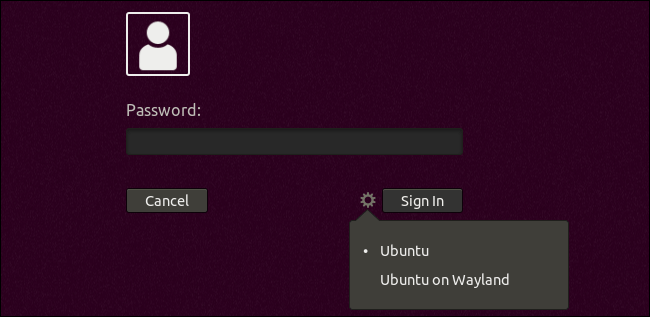
After you reboot your system, you will be asked to enter the user credentials. Enter the username & password that you have created and take full advantage of Ubuntu 18.04 Bionic Beaver desktop environment.
Conclusion
I hope this guide will help you to install Ubuntu 18.04 Bionic Beaver from USB quickly and comfortably. After you start using this free open-source OS, you will surely notice that the speed, usage, and security of your computer is increased!
What do you think about this new Ubuntu release? Will you use it on your PC? What are your everyday usages on your PC? Share your thoughts here.


Azad Shaikh
Azad Shaikh is an internet geek at heart. From reviews about computer components to playing X-box one games, Azad takes pleasure in writing about anything and everything about computers. He is a computer engineering graduate and certified ethical hacker. In his leisure time, he reads and explores the internet.


